 |
You will need a pastry blender, a rolling pin, and a biscuit cutter.
You will also need measuring cups and spoons, a wooden spoon for stirring, a bowl, and a baking sheet. Basic!
Biscuits Supreme
2 c. flour
1Tbsp. baking powder
2 tsp. sugar
½ tsp. cream of tartar
¼ tsp. salt
½ c. cold butter
2/3 c. milk
Stir together dry ingredients. Cut in butter till mixture resembles coarse crumbs. Make a well in the center and add milk all at once. Stir until moistened.
Turn dough onto a lightly floured surface. Quickly knead by gently folding and pressing dough 10 - 12 strokes or till nearly smooth. Pat or lightly roll dough to ½ inch thick. Cut dough with a floured biscuit cutter.
Place biscuits 1 inch apart on an ungreased baking sheet. Bake at 450 degrees for 9-11 minutes or till golden. Remove from baking sheet and serve hot.
Keep reading for the helpful hints . . .
Before measuring or mixing turn your oven to 450 degrees!
 |
| Cut the butter into 8-10 chunks or slices, then use the pastry blender to chop it up and incorporate it into the dry ingredients. Make sure the butter is cold! |
I like a pastry blender that has blades rather than one that has wires. The one with the wires will be broken in no time.
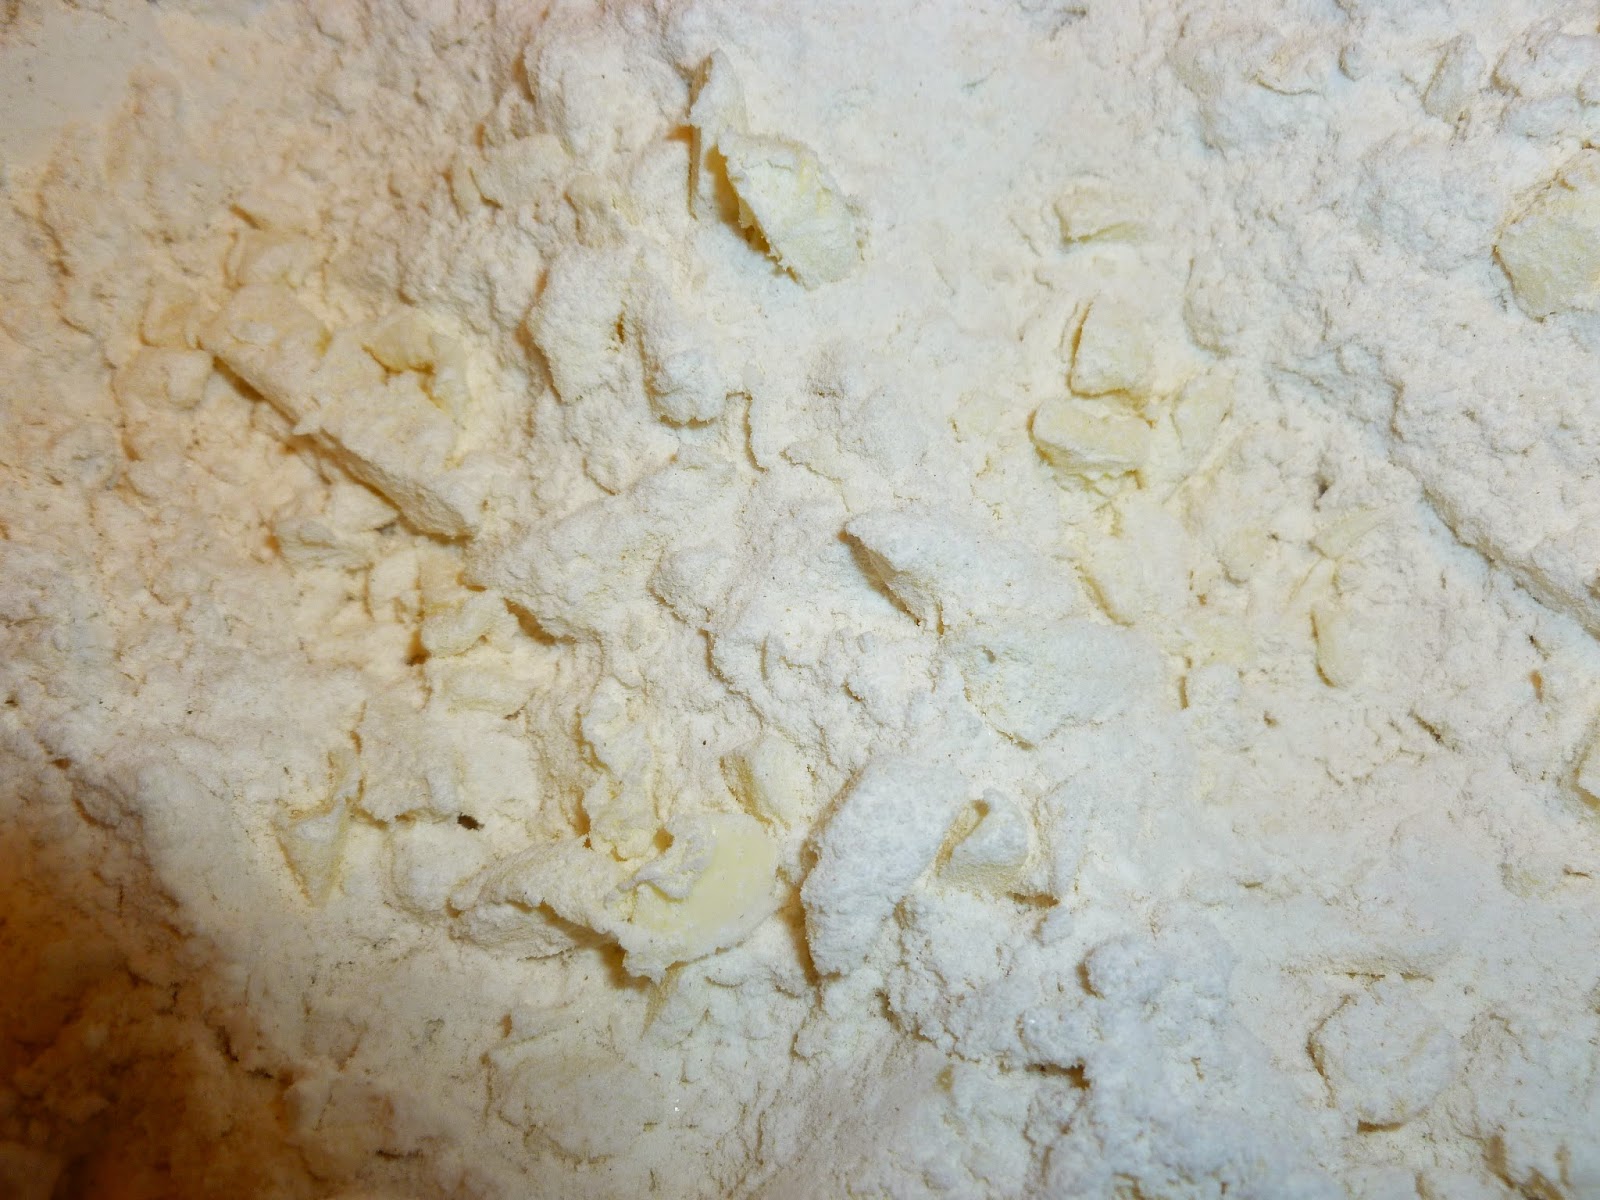
Cut in the butter until it is in pieces about the size of round green peas. These will still be chunks, some might even be a little bigger than peas. Put aside the pastry blender and measure the milk.
Using your wooden spoon, make a well in the center of the dry ingredients.
Pour the milk into the well.
Use the wooden spoon to combine the milk with the dry ingredients. The mixture will be
lumpy. Stop stirring when you see no more flour. Do not over mix!
Spread some flour around on the counter. Dump the dough out.
Use your hands to gently push it all together into a rough ball.
Put some flour on your hands. Fold the dough over in half and gently
press it. Turn it 45 degrees and repeat 10-12 times. Do this gently!
You are creating flaky layers.
After kneading 10-12 times the dough will be a smoother ball with
visible chunks of butter. This is what makes the biscuits flaky.
Stop kneading after 12 or your biscuits will be tough from over
development of gluten in the flour. Is that more than you
wanted to know? Trust me! Stop kneading.
Gently roll the dough to a bit less than 1/2" thickness.
It is too thin at 1/4", but 1/2" seems a little thick to me.
So, get it somewhere between the two.
Cut your biscuits as close together as you can.
Leave as few scraps as possible, but save the scraps that you have.
There aren't many scraps left, but don't throw them away!
Push the scraps together into a ball. Flatten it with the rolling pin and
cut some more biscuits! You won't be sorry!
I used my 2" biscuit cutter and I made 20 biscuits.
Your cutter might be larger and you will have fewer, of course.
I have two old biscuit cutters. The one on the left belonged
to my Grandma Seyb and I got it from my aunt last summer.
I think it is a treasure!
The one with the red handle belonged to my mother.
Another treasure!
What a blessed baker I am.
The biscuits bake quickly. These babies were golden in 9 minutes.
Just enough time to clean up the kitchen.
Look at those buttery layers! Grab the jelly and
eat them while they are hot!
Remember when the dough was less than 1/2" thick?
Well, look at it now!
Light, flaky, delicious!
You probably can't eat just one.
Enjoy!
I first found this recipe in a Better Homes and Gardens Cookbook. A few years later a new edition came out and the recipe was not the same and I didn't like it as well either. So, I still use this old one. I have tried other recipes, but this is my favorite. I hope you enjoy it as much as I do.


No comments:
Post a Comment